
Basics of How to Make Forms for Concrete Countertops
Sort By
- Date
- Title
Mold-Making Materials – It’s All in the Mold : Part 2

How to Remove Concrete From a Mold – It’s All in the Mold : Part 3
What is the Right Way to Build Forms for Concrete Countertops?
Making the Mold – Forming Concrete Countertops and Elements
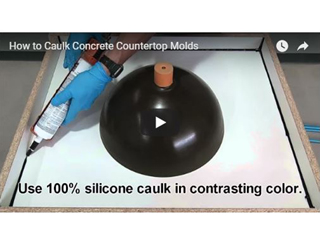
How To Caulk Concrete Countertop Molds or Forms
The Often Neglected Step Between Templating and Forming a Concrete Countertop
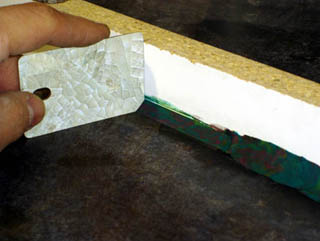
An Easy Way to Create Eased Edges on a Concrete Countertop
No results found.